Pentagon 2000
Rotabull integrates with Pentagon 2000. See below for setup instructions.
Note: Check your Windows version
Rotabull supports the following versions of Windows on the machine where you are installing the Rotabull Windows Service (a
+symbol represents the minimum version):
- Windows Server: 2008 R2 SP1 +, 2012 R2+, 2019, 2022, 2025 (x64, x86 architectures)
- Windows Client: 7 SP1 +, 8.1 (x64, x86 architectures)
- Windows 10 Client: Version 1607 + (x64, x86 architectures)
Installing the Rotabull Windows Service (RWS)
-
Use an administrator account on the machine the Rotabull Windows Service will be
installed on (either the Pentagon server or a machine with persistent access to it). -
Download the installation package at: https://app.rotabull.com/install.
-
Open the archive and run the
.msifile to install the deployment system ("Octopus"). When the Get Started window comes up, it can be closed:
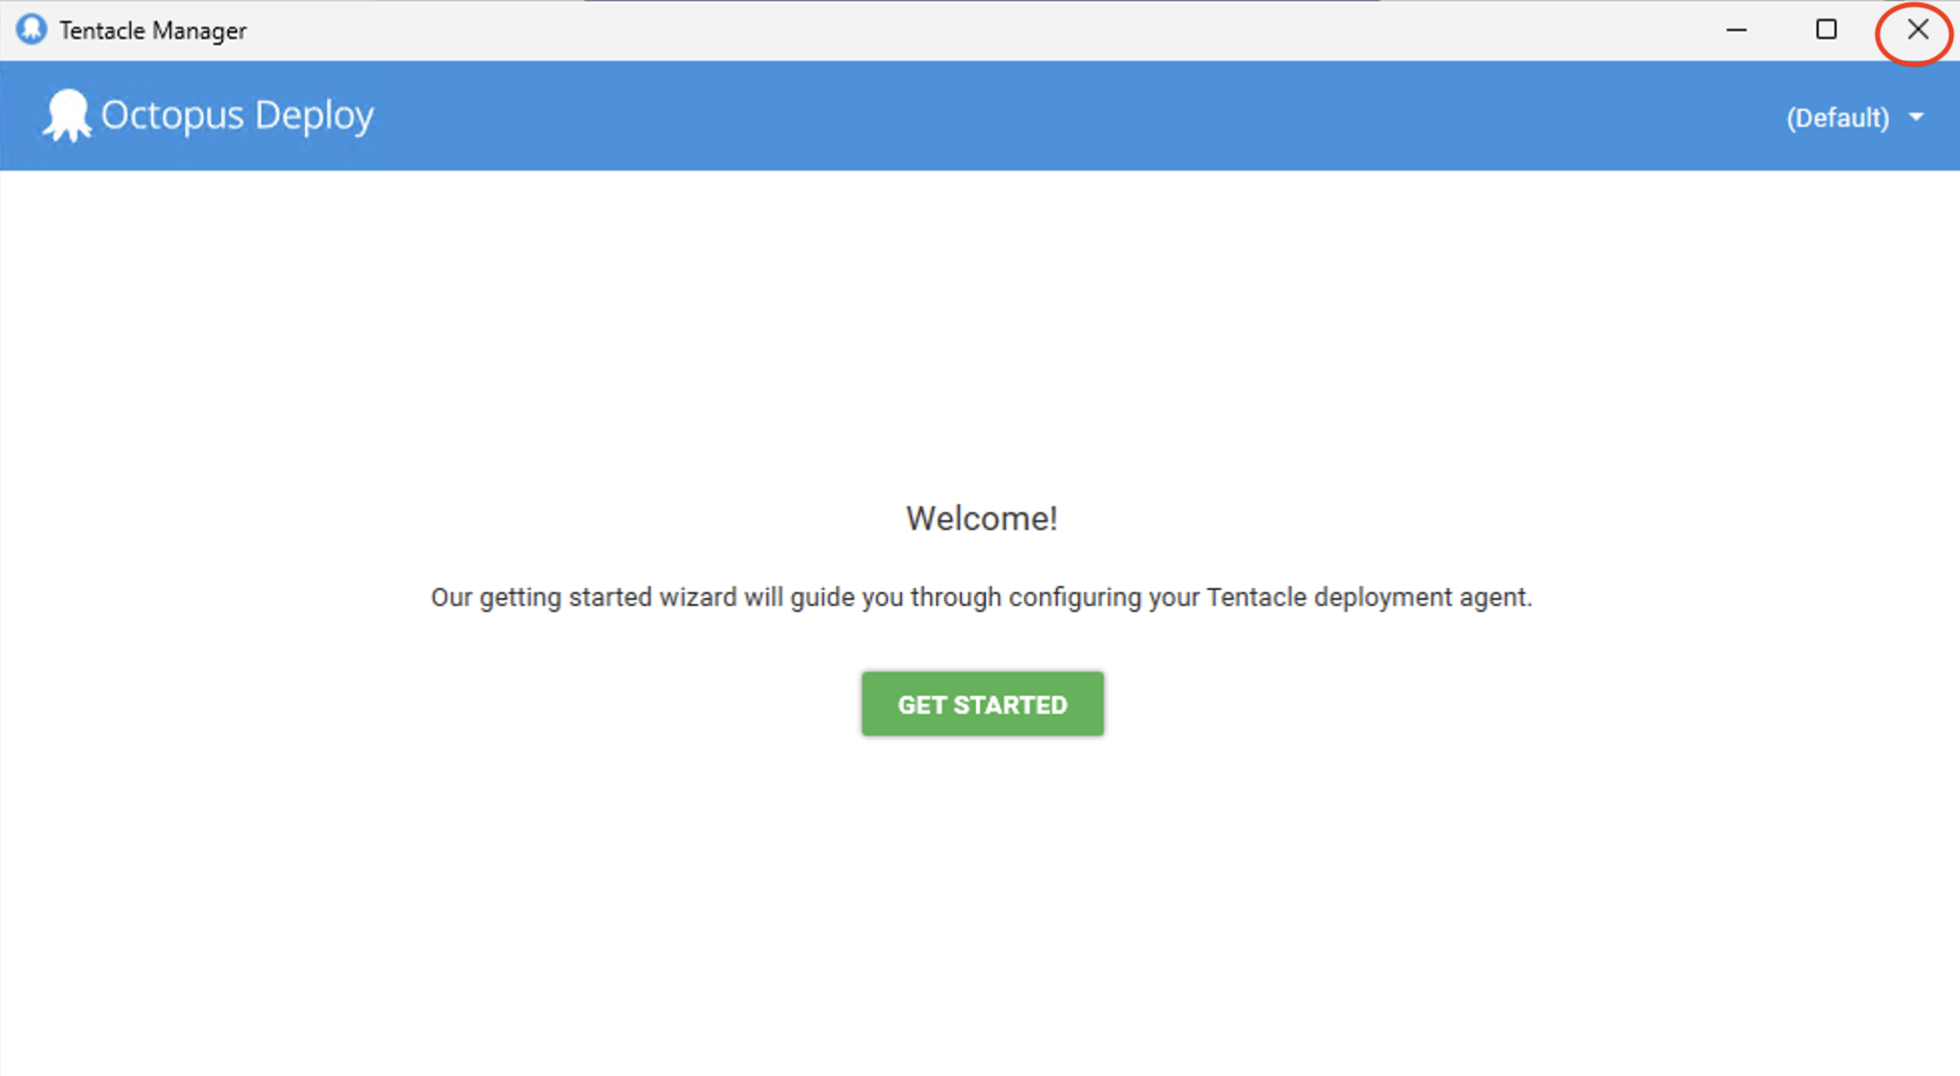
The purpose of the Get Started window is to configure Octopus, which we do via a script in the next step instead.
- Run
rotabullDeployment.batin the same archive as an administrator to configure
Octopus to point to Rotabull servers. - Send a message to the Rotabull team that the steps have been completed. Please include the following information as well:
- The local name of the computer the service was installed on
- The Company DB information (this can be found in My Pentagon > My Settings > Check DB Connection)

Info: Next steps
It may take several hours (and up to a day) for Rotabull to complete the Pentagon setup after you have finished step 5, and begin to see inventory in Rotabull.
Firewall Settings
If your organization has firewall settings in place, permissions for outbound requests to the following Hosts and Ports will be required:
- rotabull-prod-customer-files.s3.amazonaws.com:443
- ssm.us-east-1.amazonaws.com:443
- app.rotabull.com:443
- rotabull.octopus.app:10943
Rotabull to Pentagon Configuration
With the vast amount of configuration options available for Pentagon, there are several required and some optional parameters that Rotabull requires to correctly setup the integration. Below you will find a table listing those options.
| Option | Default | Example | Required |
|---|---|---|---|
| Master Company Id* | 1 | 1 | Yes |
| Default Division for Master Company* | Sales | No | |
| Sub-Company* | 1 | 1 | Yes |
| Quote Valid For Days | 30 | 30 | Yes |
| Exchange Line Type | 18 | 02 | Yes |
| Overhaul Line Type | 17 | 03 | Yes |
| Default Inco Terms | EXW | No | |
| Quote Trace Info Reference Field | REF2 | No | |
| Quote Tag Info Reference Field | REF3 | No | |
| Quote Tag Date Reference Field | REF5 | No | |
| Stock Trace Info Reference Field | USER_REF1 | No | |
| Stock Tag Info Reference Field | USER_REF2 | No | |
| Stock Tag Date Reference Field | REF2 | No | |
| Stock Tag Type Reference Field | REF4 | No | |
| Add Core Charge To Exchange | False | Yes | |
| Add Core Charge To Overhaul | True | Yes | |
| Core Charge Line Type | 05 | Yes | |
| Add Repair Charge To Overhaul | True | Yes | |
| Repair Charge Line Type | 15 | Yes | |
| Bench Check Line Type | 02 | Yes | |
| Default Condition Code Part Request | __ | NS | Yes |
| Default Condition Code MRO | __ | OH | Yes |
| RFQ Source Id Reference Field | REF1 | Yes | |
| Priority Map | See table below | Yes |
Rotabull - Pentagon Priority Map
| Rotabull Priority | Pentagon Priority |
|---|---|
| Maintainability | RT |
| Routine | RT |
| AircraftOnGround | AOG |
| AOG | AOG |
| Critical | UG |
| Normal | RG |
| Expedite | HI |
| Inventory | USR (edited) |
These options are the basic, default configuration for Pentagon.
Confirming Pentagon is connected
You can check that the integration is fully connected correctly, with two steps:
- Go to your listings in Rotabull and confirm your stock has synced.
- Once your sales team begins sending quotes, confirm that the quotes are being entered into Pentagon.
Updated 10 months ago